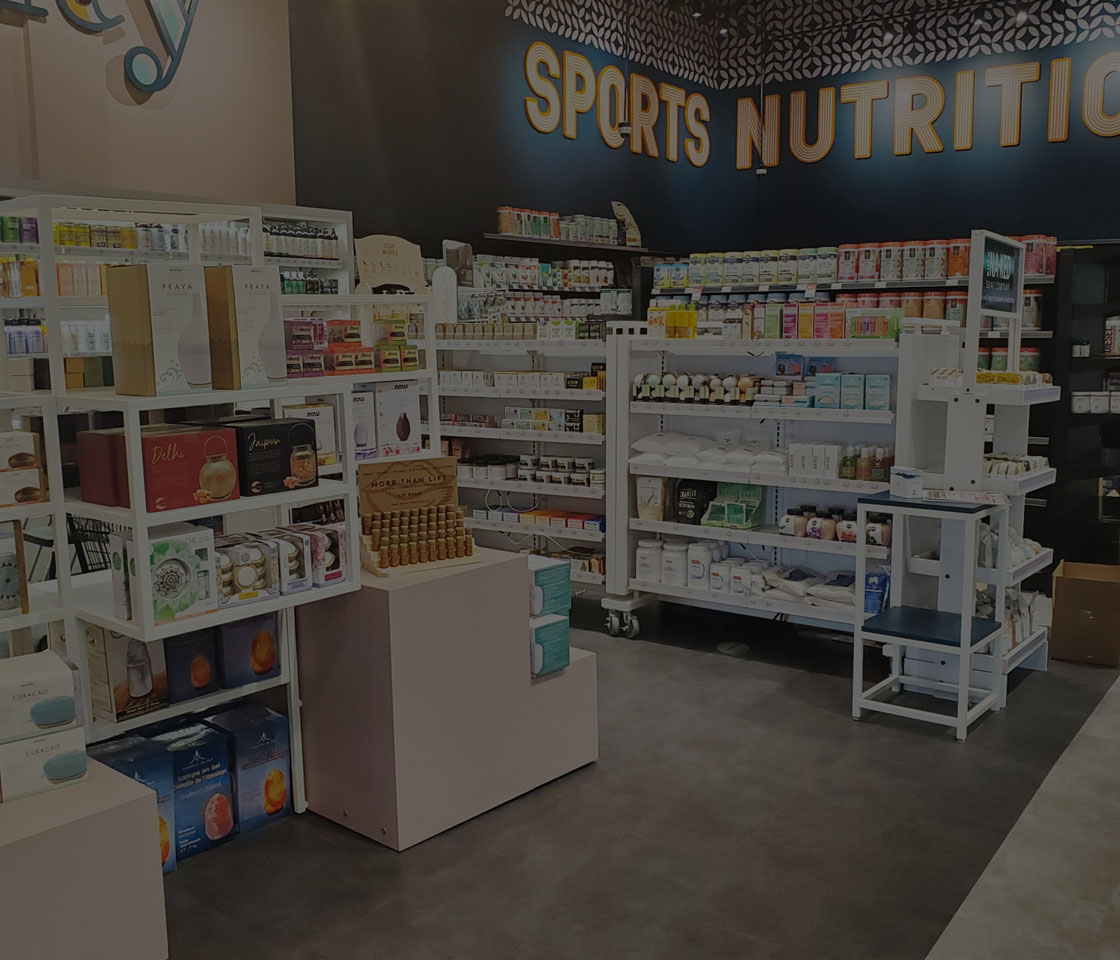
How CBSF helped Healthy Planet make their stunning vision a reality – A Real World Project Review.
I’ve been doing this for over 25 years. And in that time, I can count on my hand the number of times a project had too much time and budget. Let’s be honest; that never happens.
The challenge is always the same:
- How do we hit the look the design team wants…
- While building the functional fixtures the ops team needs…
- In a way that can be transported, installed, and rolled out across multiple locations…
- On-budget and in the timelines we need to hit.
This is the reality every retailer faces.
So when our long-term, high-growth client Healthy Planet (and when I say high-growth, they’ve gone from 3 stores to over 30 in less than a decade) came to us with a bold new vision created by Jump Branding & Design, we rolled up our sleeves and got to work.
In this post, I’ll break down the formula we use to value-engineer a project getting the most out of the time and resources we have (and it’s also why retailers come back to us time after time).
STEP ONE: SPEC ALL OF THE REQUIREMENTS


When we sat down with Healthy Planet and its design team, they handed us a bold new vision for their new store plans.
Their initial plans included:
- A mix of 3rd party fixtures from a handful of different vendors (beauty displays & shelving, produce & food displays, etc)
- Standard gondola shelving
- Custom full wall displays & shelving
- Custom checkouts
- Custom ceiling & lighting grid
Of course, this is where our team really drives a ton of value.
Because everything looks great on paper. But breaking down the requirements to the possible use-cases, product/goods requirements, lighting needs, building materials, finishes, pre-built vs custom-built options, realities of transportation & installation, and the big thing that’s overlooked: can these designs actually be built for the real world…
All this and more needs to be explored, considered, discussed, and scoped.
STEP TWO: GO TO THE MARKET
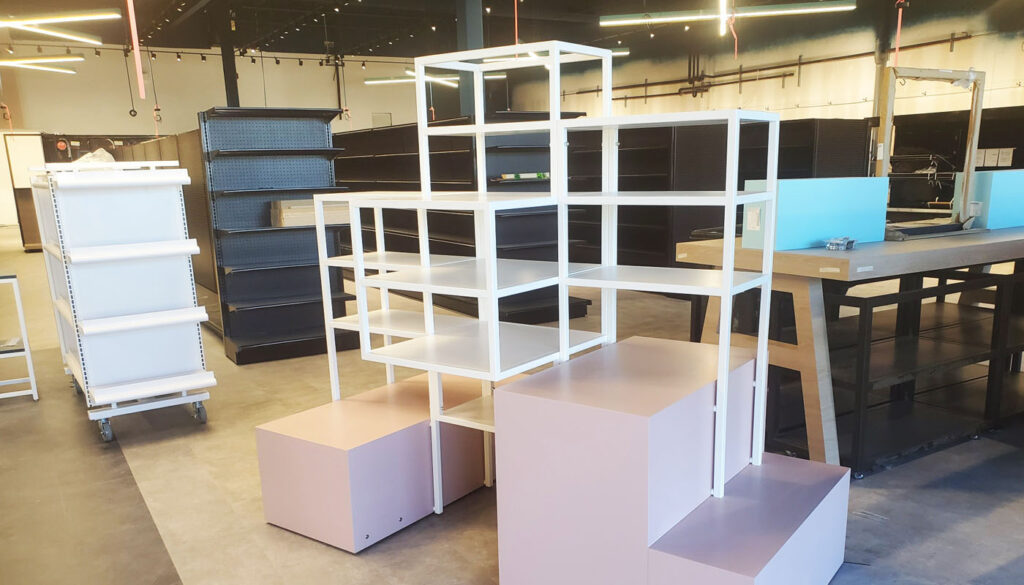


Next, our team goes out to the market to see what’s available and how it can all work.
Often, different species of wood, or tile, or build materials may be available in the quantity and price-point needed, or not.
A finish style may be available and possible, or not.
3rd-party suppliers for pre-built displays and fixtures may have stock and be able to deliver on time and budget, or not.
Build methods may call for exceptional techniques, adhesives, structural elements, electrical, lighting, and more.
Working with the GCs and our installation teams, we scope exactly how everything can be transported, loaded into the space, and installed in the most efficient way possible.
For the Healthy Planet project, a few challenges came up:
- A display wall called for natural wood
- Challenges include the weight of using the initially requested type of wood
- The fact that natural wood bows, cups, and twists
- Natural wood tends to leave awkward-looking butts and joints
- For long runs, it takes a lot of care and time to ensure everything is plumb and straight
- Pre-built, 3rd party beauty displays
- The original design called for stunning displays that were exceptionally expensive
- Their specialist produce display supplier
- Their supplier was at capacity and couldn’t deliver the custom displays and fixtures on the schedule
- The beauty section custom ceiling grid
- Originally called for a building material that couldn’t be sourced in the quantity and price point we needed
While these challenges are par for the course, it’s just a part of the process; every aspect of every fixture required this type of thinking and review.
STEP THREE: SOURCE & CREATE ALTERNATIVES

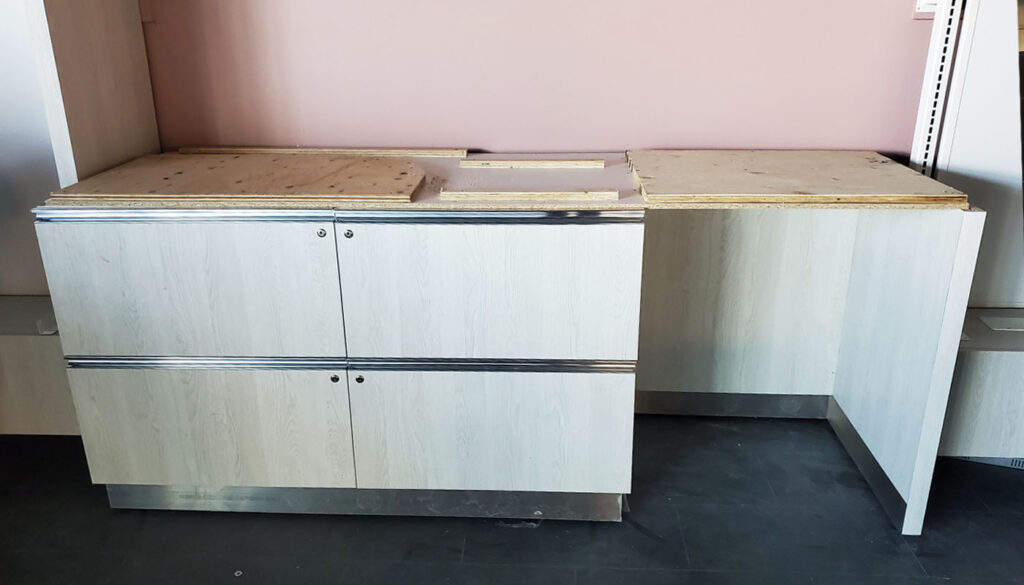

Now that we fully understand what we need and what’s available, we can start to get creative.
Just because the display wall called for natural wood doesn’t mean we have to build with natural wood. So we explore engineered wood options, laminates, and (what we ended up doing in the end) vinyl-wrapped aluminum.
The same with the 3rd party beauty displays… using the original displays as inspiration, our team created custom displays with a similar look and feel, but with materials and a build process that helps bring the budget in line with reality. In the end, building custom fixtures gave Healthy Planet a look they love at a lower price point than purchasing pre-built.
The same holds true for the product displays, and the ceiling grid, and the end-caps, custom checkout, floor displays, and so on.
By taking a step back from the original specs and focusing on design-intention – the outcome you want to achieve – we have so much more control over the project management triangle (quality = scope, time, & budget).
STEP FOUR: BUILD PROTOTYPES


Now the fun begins. Because when you’re working in the world of design and custom builds, you can do almost anything, but everything needs to “just work” in the real world.
So we build out prototypes to judge size, proportions, eyelines, lighting, finish, durability, and most important, does it pass the “I love it!” test.
But not only that – with almost every project we’re breaking new ground.
- Will this material work with this adhesive without show through?
- What’s the best way to finish the millwork? Mitre, bevel?
- Should the finish have texture, be matted, or have a sheen?
- Are there usability issues and will the displays or fixtures stand up to use day after day, year after year?
And so much more.
STEP FIVE: REVISE, REFINE, & PERFECT

Now is our chance to get everything right, so you’re not learning in-market or mid-way through a program roll-out, or having to recall and rebuild half of your plan. Believe me, we’ve seen it all.
STEP SIX: BUILD
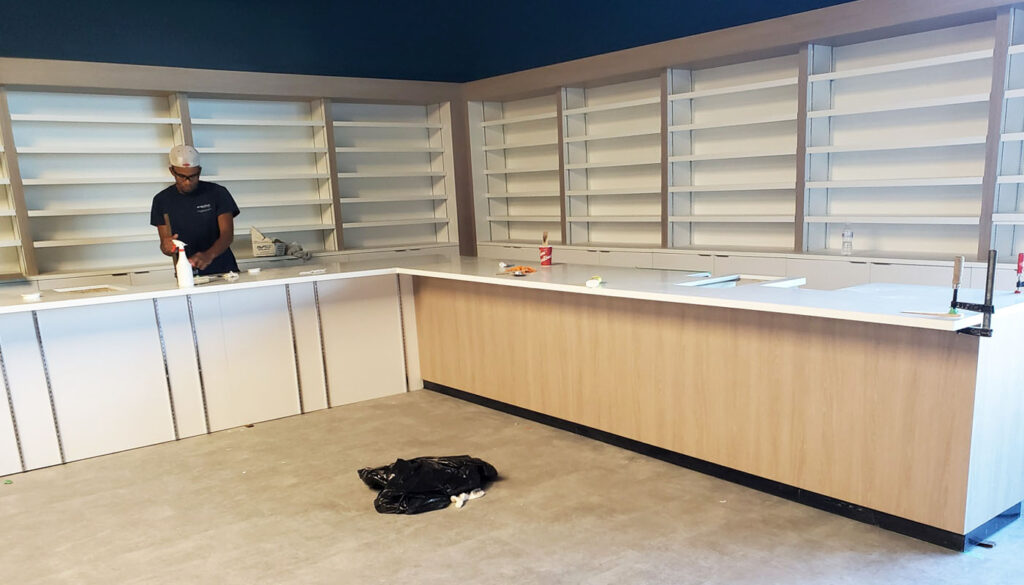


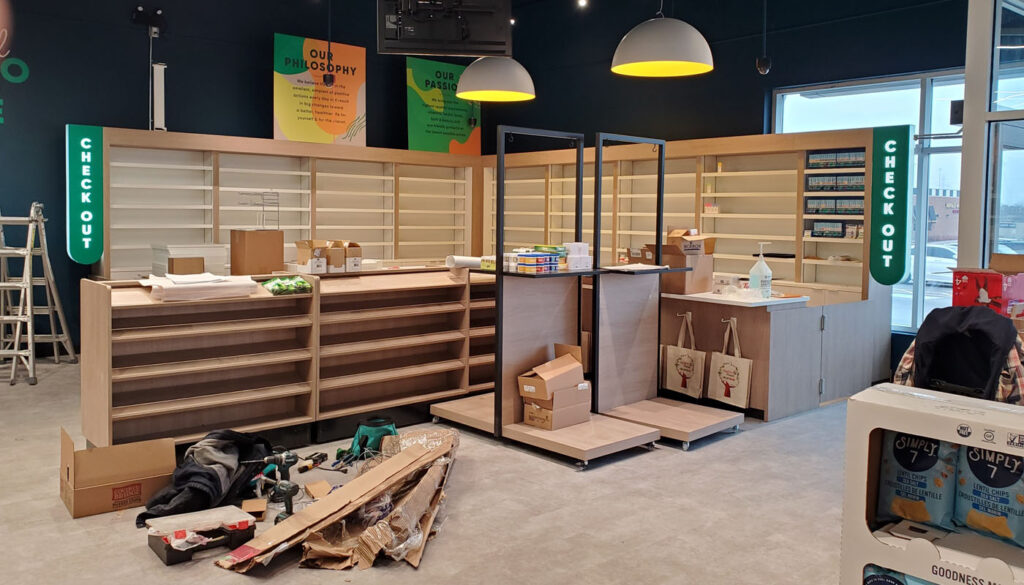
As one of Canada’s largest retail environment design-builders, having the team and capabilities in-house means we can often make the impossible happen.
Just a few of the more relevant details:
- 4 facilities in North America (custom wood millwork, custom metal manufacturing facility, acrylic, glass, and signage manufacturing, and distribution space with 25 loading bays
- 400 employees across North America
- 20 years average industry experience
- Inhouse project management, budget management, and reporting
For Healthy Planet, the photos throughout this post really speak for themselves.
STEP SEVEN: TRANSPORT & INSTALL


As it goes, the greatest plans are useless if you can’t execute them.
With a retail store build (or for that matter, rebuild), every part for every fixture, display, checkout, shelf, wall, ceiling grid, lighting element, or unique design element needs to be built for the most cost-effective shipping, load-in, and installation possible.
We’ve had clients request displays that can’t be loaded into a space, shelves that don’t have the necessary support, fixtures that can’t be tweaked for each new location and its unique requirements, and more. There’s nothing wrong with these examples because we’re here to point it out, develop a plan, and execute. That’s what we do.
So from the very beginning… spec-ing all of the requirements, we’re already thinking about how we’re going to build everything, break everything down for shipping, load-in, and installation.
DO YOU NEED HELP TURNING YOUR BOLD VISION INTO REALITY?


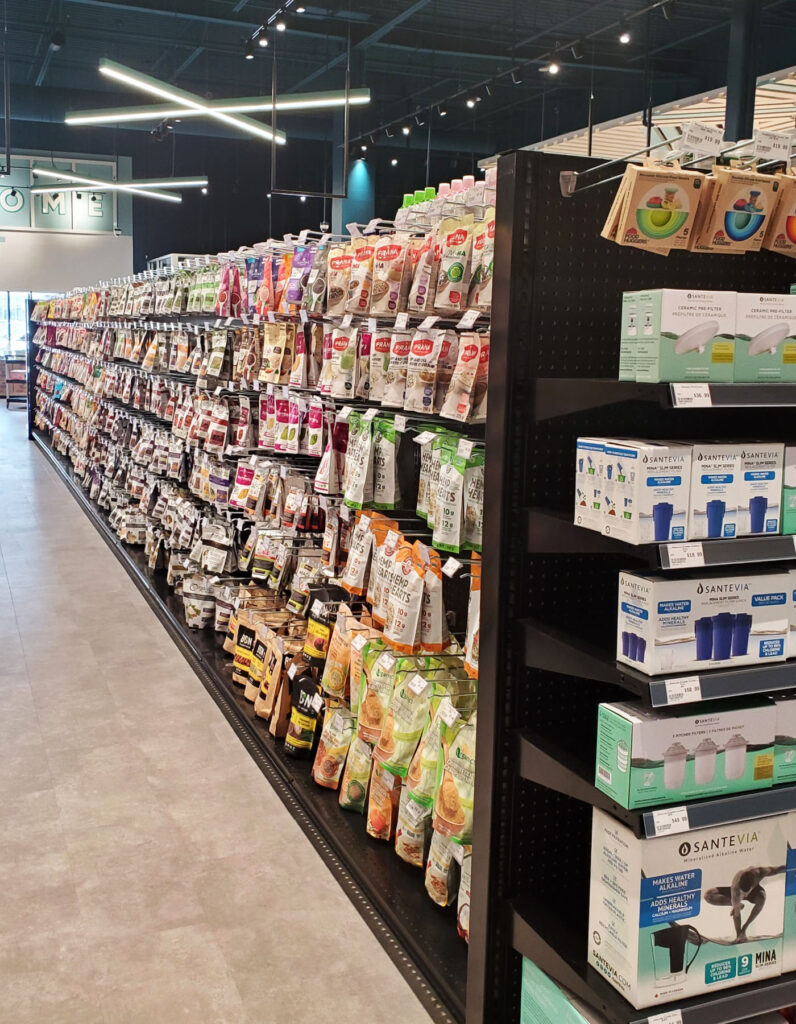
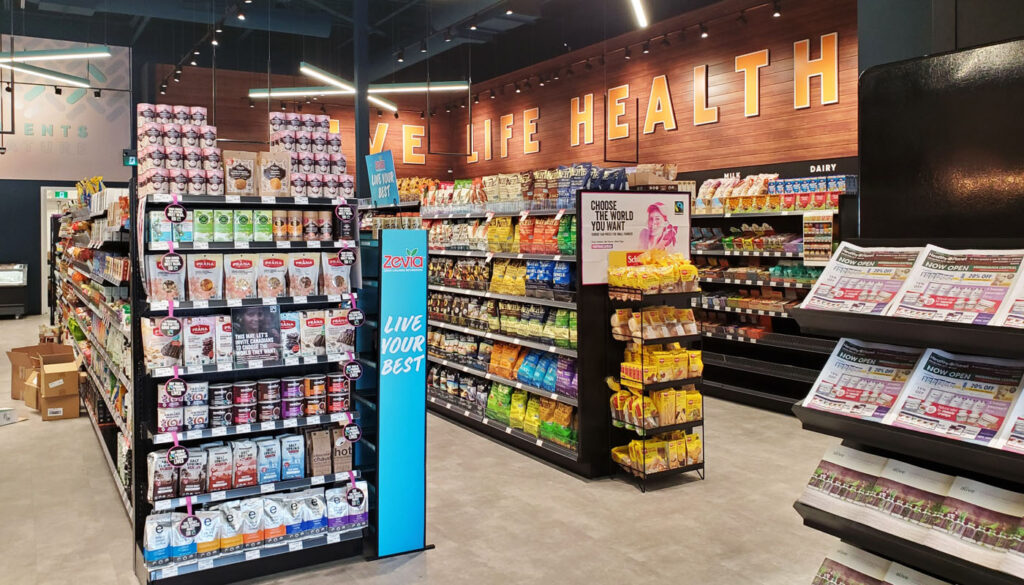
“For us, scaling successfully comes down to our people. At the end of the day, anyone can open 10 stores or 20, but if you don’t have the right people who can help you grow and can help provide the best experience to and for your customers, you’re missing the most crucial part.” Talha Dadabhoy, Director of Operations, Healthy Planet
Working with Healthy Planet over the years I believe we’re a part of the “right people” Talha Dadabhoy is talking about.
So what about you and your team? If you have a bold new vision, if you need to take your location to the next level, or even if you’re just struggling with your current suppliers, it’s time to give us a call.

