Take Your Retail Fixture From Concept To Fully Installed.
Ever wonder how a custom retail fixture or display goes from a rough sketch to a fully installed display, driving sales in your store? The process involves more strategic thinking and coordination than people realize.
Whether you’re planning a single custom display or rolling out fixtures across multiple locations, here’s the complete journey from initial concept to final merchandising — and why having one partner manage the entire process makes all the difference.
Step 1: Ideation — Start With Your Vision And Goals
Every project begins by understanding your space, your brand, and the customer experience you’re trying to create.
So ask, what’s the purpose of this space? How do customers move through it? What experience are you trying to create?
This isn’t just about what looks good, it’s about understanding customer behaviour and your specific objectives.
A checkout display has different requirements than an endcap, and a centre display in a flagship store serves a different purpose than a national program rollout.

Step 2: Design — Turn Your Vision Into Visual Concepts
Professional designers take your goals and transform them into detailed concepts that balance three critical elements: aesthetics that reflect your brand, functionality that serves your business needs, and practical considerations like maintenance and durability.
This stage is where creative vision meets commercial reality.
Step 3: Prototyping & Engineering — Testing Before Committing
Technical drawings are drafted, and prototypes are built to test functionality before full production. This step prevents costly mistakes and ensures your fixtures will perform as intended in real-world conditions.
For complex projects or new concepts, prototyping can save significant time and money by identifying potential issues before manufacturing begins.

Step 4: Material Selection & Budgeting — Smart Choices For Long-Term Value
Selecting the right materials involves striking a balance between durability, appearance, and cost-effectiveness. The cheapest option upfront often proves more expensive in the long run due to maintenance, replacement, or poor performance.
This stage requires understanding your specific environment — high-traffic areas need different materials than low-touch displays, and food service areas have different requirements than apparel retailers.
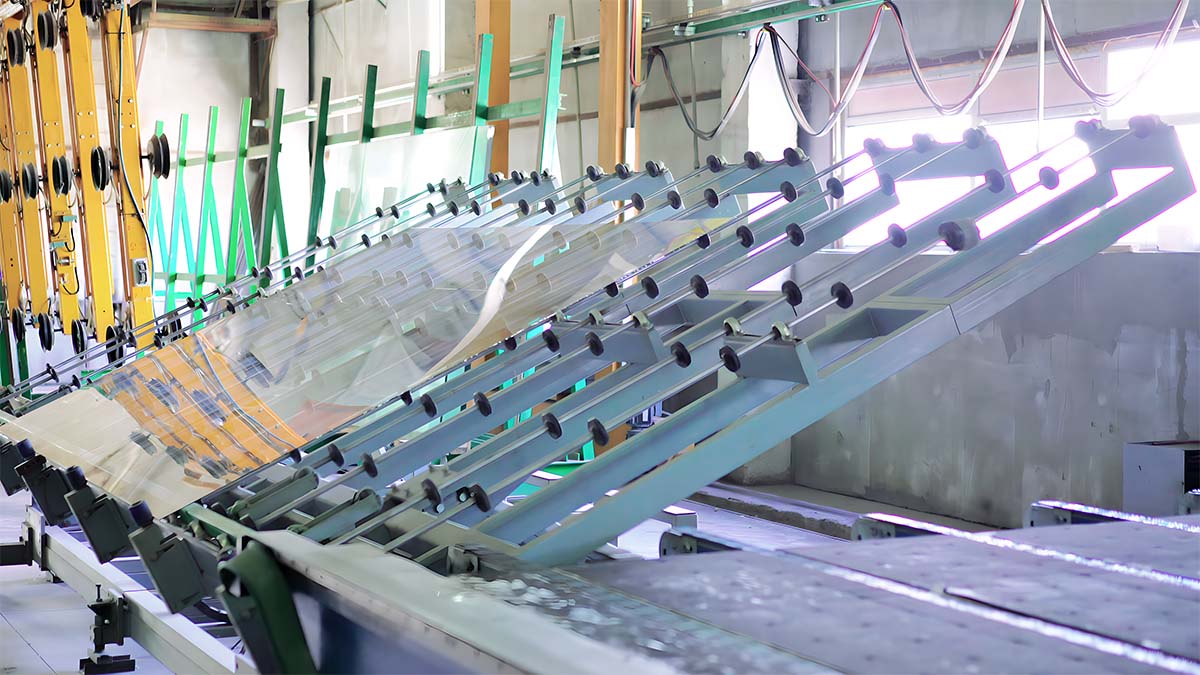
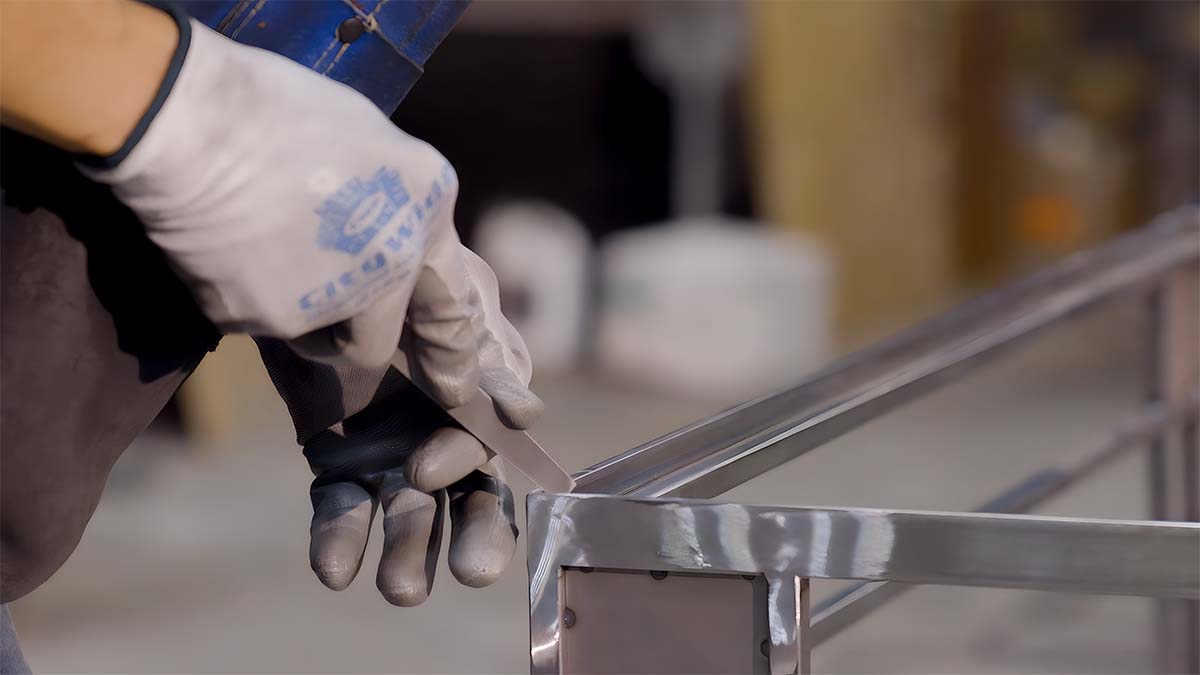
Step 5: Manufacturing — Bringing Designs To Life
Your fixtures are built through coordinated manufacturing processes — metal fabrication, millwork, acrylics, and glass work, all managed in-house to ensure quality control and timelines.
Local manufacturing in Canada provides better oversight, faster communication, and greater flexibility for adjustments during production.

Step 6: Finishing — The Details That Make The Difference
Paint, stain, powder coating, vinyl wrapping, and other finishing touches transform raw materials into polished, branded elements that reflect your company’s attention to detail.
Quality finishing not only enhances appearance but also provides protection that extends the fixture’s lifespan and maintains its professional appearance over time.
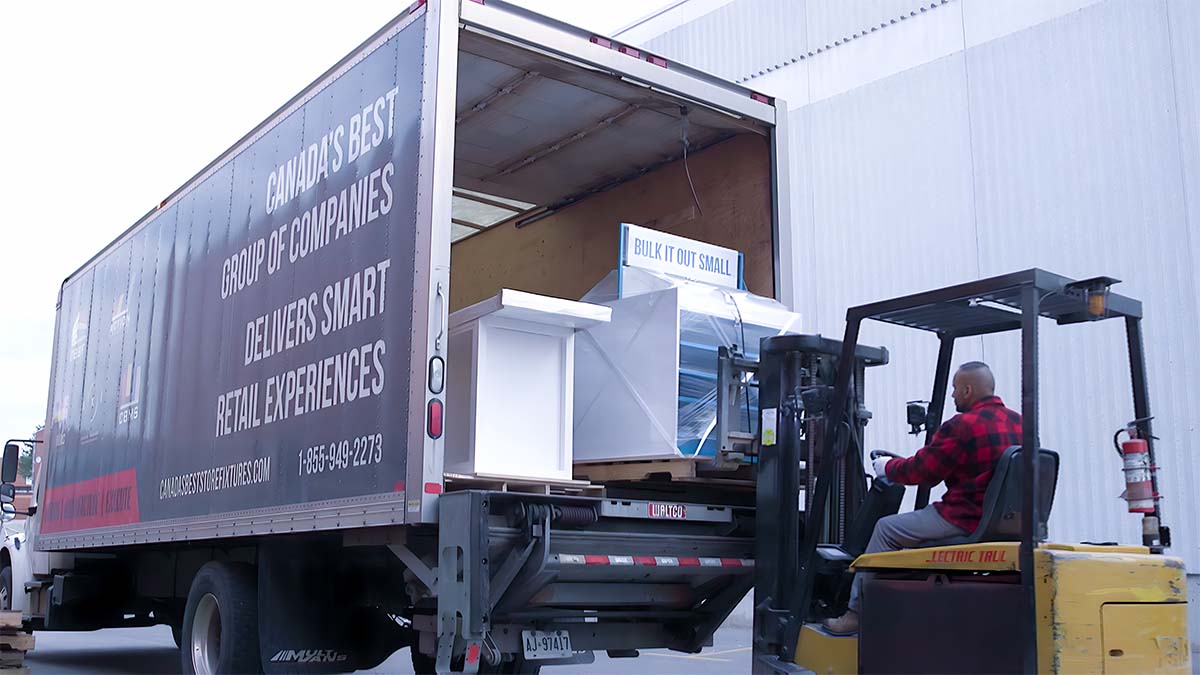
Step 7: Logistics — Getting Everything Where It Needs To Be
Careful packaging, shipping, and scheduling ensure everything arrives safely and on time for installation. For multi-location rollouts, this becomes especially important, as delays at one location can impact the entire project.
Professional logistics management prevents the frustration of having installation crews show up without the fixtures they need to complete the job.

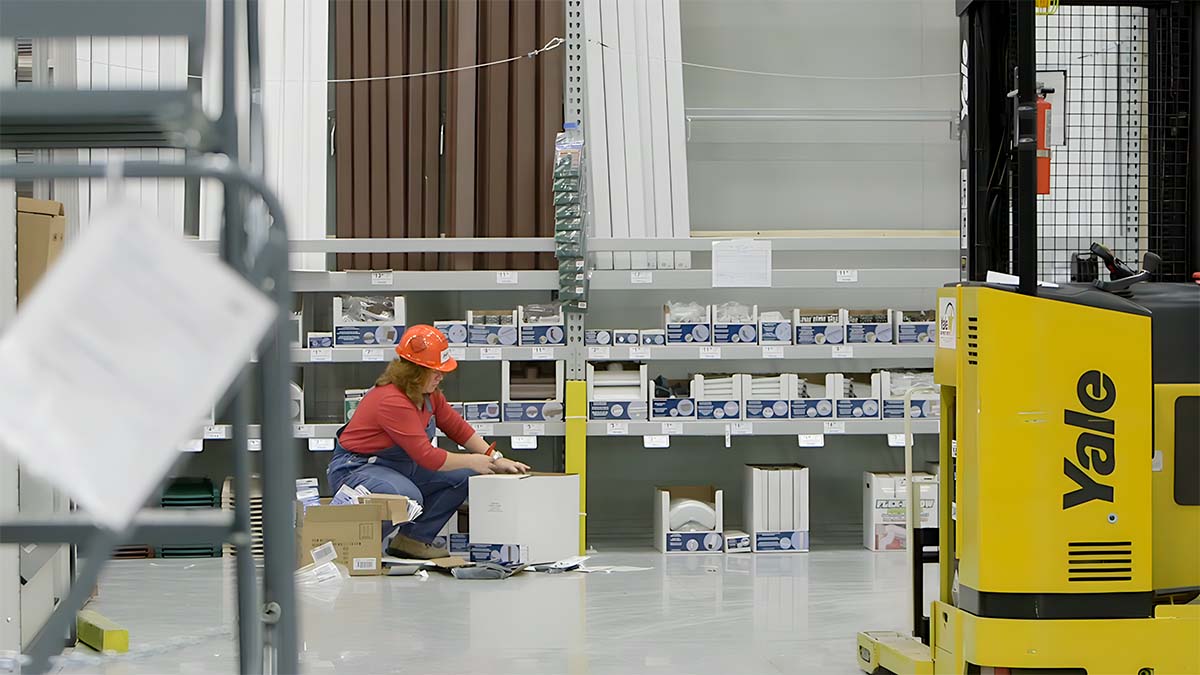
Step 8: Storage — Coordination For Multi-Location Rollouts
For larger programs, short-term storage keeps everything organized and ready until each location is prepped for installation. Strategic storage also allows just-in-time delivery, minimizing disruptions to ongoing business operations.
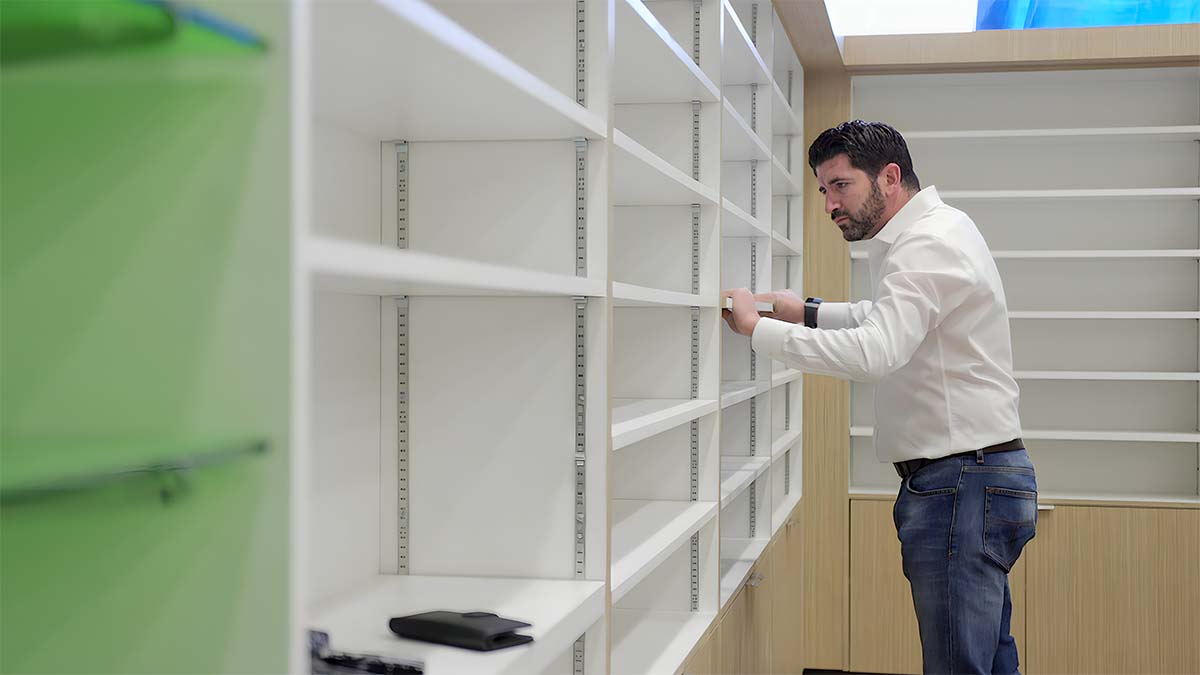
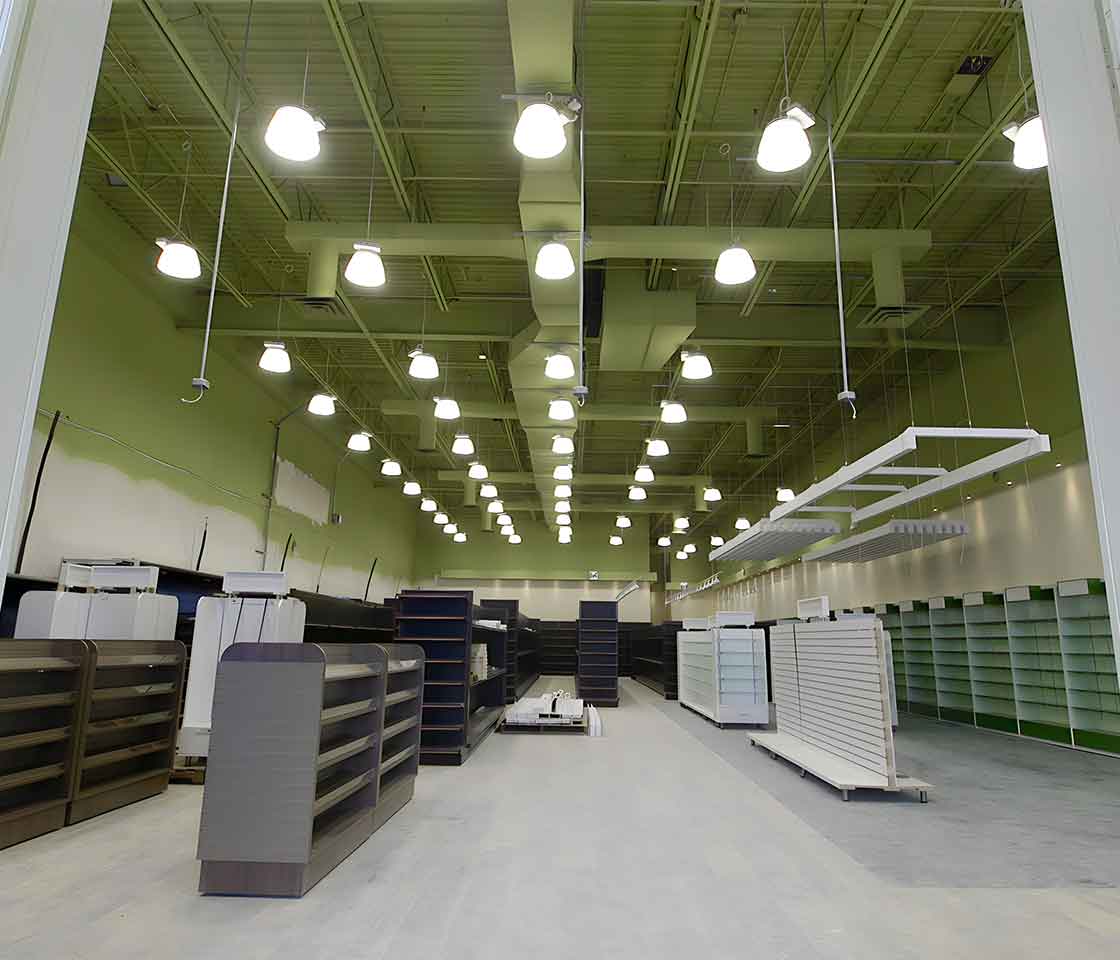
Step 9: Installation — Transforming Spaces With Minimal Disruption
Expert installers complete the build-out, transforming empty or existing spaces into fully-realized retail environments. In live retail environments, this means working efficiently with minimal disruption to ongoing operations and customer traffic.
Professional installation ensures fixtures are properly secured, level, and functioning as designed — details that impact both safety and long-term performance.
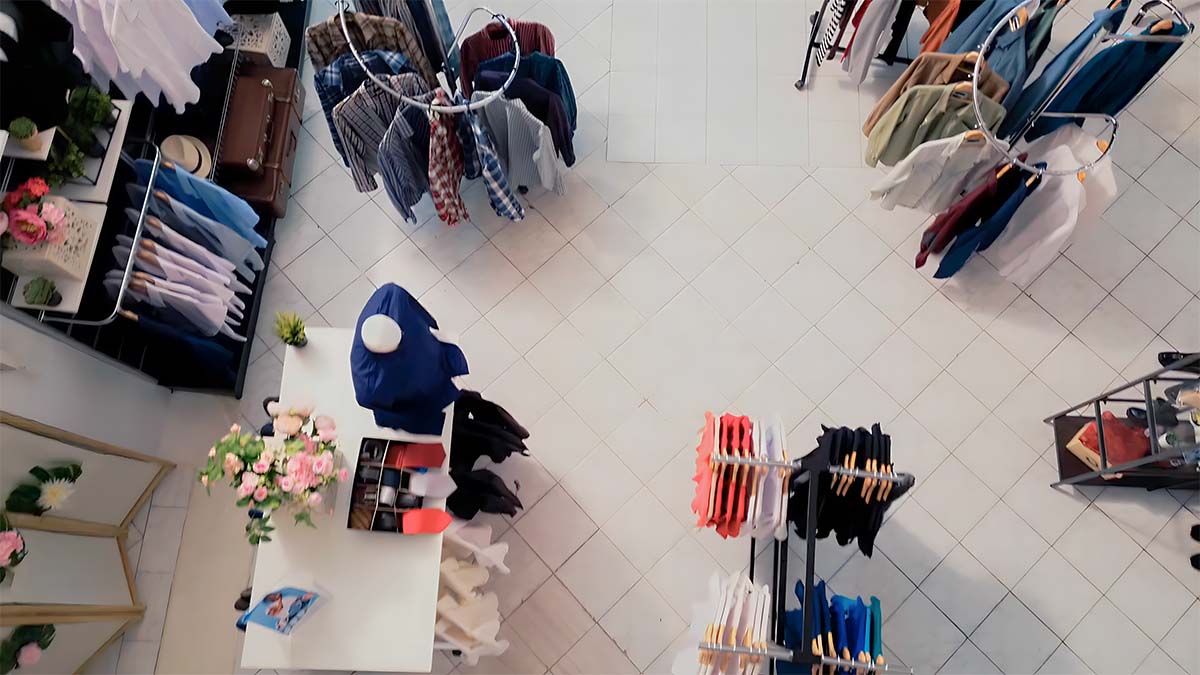
Step 10: Merchandising — The Final Touch That Drives Sales
The final step places products strategically to maximize sales and create the intended customer experience. But merchandising isn’t one and done — it’s an ongoing process that includes cross-merchandising opportunities, seasonal transitions, and holiday displays throughout the year.
Effective merchandising transforms functional fixtures into revenue-driving displays that guide customer behaviour and boost impulse purchases.
Why A One-Stop Shop Makes All the Difference
When every step is coordinated by a single partner, the result is a frictionless process that saves time, reduces headaches, and ensures better outcomes. Instead of managing handoffs between multiple vendors, you get:
- Consistent communication throughout the entire process
- Accountability from concept to completion
- Quality control across all manufacturing and installation phases
- Timeline coordination that prevents costly delays
- Problem-solving that addresses issues before they impact your project
The Bottom Line
Turning your retail vision into reality requires careful coordination of creative, technical, and logistical elements.
When done right, the process transforms ideas into custom retail fixtures that not only hold products but also drive sales, enhance the customer experience, and reinforce your brand.
Understanding these 10 steps helps you plan more effective projects, set realistic timelines, and select partners who can deliver on your vision.
Ready to bring your retail vision to life?
Contact our team to discuss how we can guide your project from initial concept to final installation.
Want more retail design insights? Join 400+ retail professionals who read our email newsletter full of practical advice and design ideas. https://mailchi.mp/8a889d2ab116/v